Secondary Suite Kitchens in BC and Calgary: Layouts, Cabinet Sizing, Code Requirements and Cost (2026)
The short version
A suite kitchen is a coordination problem before it’s a design problem. Get the layout, appliance models, clearances, ventilation route and fire separation resolved on paper, and the cabinets are straightforward. Get them wrong and you’re paying $2,000 to $8,000 to rebuild cabinets that were fabricated to a drawing the site couldn’t accommodate.
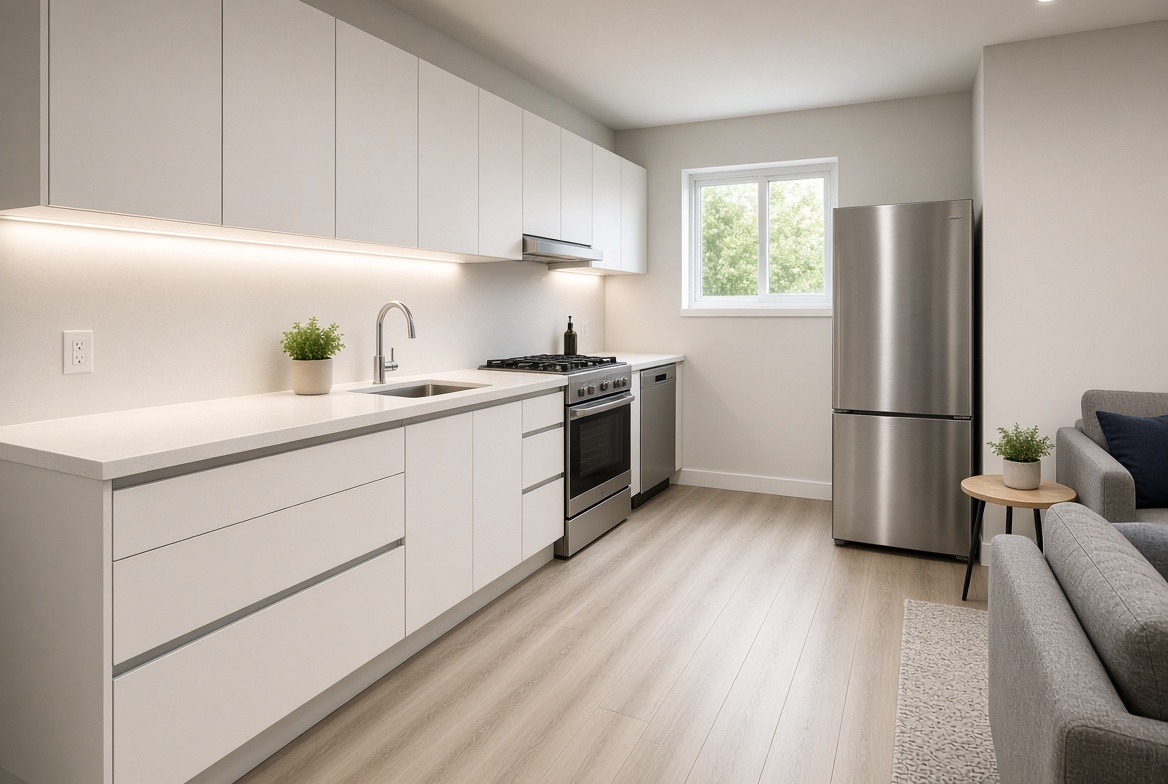
Budget $6,000 to $28,000 for cabinetry and installation depending on the layout, which is roughly a third to two-thirds of what the same homeowner would spend on their main kitchen. One-wall and galley layouts do the most with the least. Twenty-four-inch appliances are the whole game in a compact suite.
And read the funding section before you build a budget around a rebate. Two of the three programs people are still being told about no longer exist.
Why everyone is building these right now
Since November 2023, BC’s Housing Statutes Amendment Act has required every municipality in the province to permit at least one secondary suite on residential lots. Vancouver has now permitted well over 4,200 laneway homes. In Calgary, the secondary suite registry went from 13,000 units when the incentive program launched in 2024 to roughly 26,000 today — it doubled in two years.
That’s the context for the demand. It’s also why the money ran out, which we’ll get to.
What funding actually exists in September 2026
This section will be the most useful thing on this page for a lot of readers, because the internet is full of contractor blogs still advertising programs that were cancelled.
| Programme | Status | What you need to know |
|---|---|---|
| BC secondary suite incentive | CANCELLED | The province cancelled it in March 2025, citing financial pressures. There is no provincial forgivable loan to apply for. |
| Canada Secondary Suite Loan Program | NEVER LAUNCHED | Announced in Budget 2024 at up to $80,000 at 2% over 15 years. No application portal ever opened, and it was cancelled in the 2025 federal budget as duplicative. Many sites still promote it. |
| CMHC Refinance Program | ACTIVE | The live federal route. Refinance up to 90% of your post-renovation property value, to a maximum property value of $2 million, amortised up to 30 years. Funds must go to the suite; no equity take-out. CMHC has to approve the insured financing before construction starts or very early on. |
| Calgary Secondary Suite Incentive Program | WAITLISTED | Up to $10,000, plus up to $1,250 for energy efficiency and up to $5,000 for accessibility improvements. New applications have gone to a waitlist since June 24, 2026, and the Housing Accelerator Fund behind it closed September 1, 2026. |
| Multigenerational Home Renovation Tax Credit | ACTIVE | Federal. 15% of up to $50,000 in eligible costs, so a maximum of $7,500, where the suite is for a qualifying senior or adult with a disability. |
Three rules for the Calgary programme if you’re joining the waitlist. You need an active building permit number before you apply. The suite has to be inside the main dwelling — a detached backyard or garage suite goes through a separate programme. And any work you complete before your application date doesn’t qualify, so applying before you break ground is not optional.
Verify all of this on the government pages before you build a budget around it. These programmes change with each budget and this one changed twice in eighteen months.
Key takeaways
- Allow about 36 inches of clear aisle where one person works, and 42 to 48 inches where a doorway or a second person is in the route.
- Standard 24-inch base cabinets almost always beat shallower boxes in a suite — you lose real storage and gain almost no floor area.
- In BC, the suite has to be separated from the rest of the house by a fire separation, and the smoke alarms in both units must be interconnected and photo-electric.
- A 24-inch range, an 18-inch dishwasher and a 24-inch or apartment-depth refrigerator turn an unworkable 8-foot wall into a functioning kitchen.
- Measure the refrigerator with its door open and its handle on. The label depth is not the depth that matters.
- Melamine boxes with laminate fronts are the right default for a rental. Put the money into hinges, runners and edge protection instead of door material.
What the BC Building Code requires
Your municipality is the authority having jurisdiction and the code edition it enforces governs your project. That said, here’s what a secondary suite in BC generally has to deliver, so you can walk into the conversation knowing what’s coming.
- A fire separation between the suite and the rest of the house, continuous across every wall and floor-ceiling assembly that divides the two units and any shared space. Section 9.37 sets this at a 45-minute fire-resistance rating; some assemblies and editions allow a 15-minute rating with specified construction.
- Doors in that separation need appropriate protection. A door in a separation rated 45 minutes or less doesn’t have to be a labelled fire door, but it does need to meet specific criteria — solid wood of a defined thickness with a self-closing device is one accepted route.
- Interconnected smoke alarms across both dwelling units, photo-electric type, wireless interconnection now permitted.
- Carbon monoxide alarms in or within 5 metres of each bedroom where the building has a fuel-fired appliance or an attached garage, interconnected throughout.
- Sound separation between units — typically sound-absorbing insulation in the joist or stud space, resilient channel on one side, and half-inch gypsum board both sides, or an assembly meeting the required ASTC rating.
- Ceiling height of at least 2 metres (about 6 feet 7 inches), including under beams in passageways. Basements are where this bites.
- A separate means of egress for the suite, and exits separated from adjacent floor areas by a fire separation.
Two things that matter specifically for the kitchen. Ducts penetrating a fire separation in a house with a secondary suite generally don’t need fire dampers if they’re noncombustible and detailed correctly, which affects how your range hood is routed. And your cabinet fasteners, fillers and panels must not compromise a rated assembly — a cabinet screwed through a fire-separation wall without the right detail is a failed inspection.
Calgary
Calgary permits secondary suites in most residential districts following the citywide rezoning, but the property still has to satisfy current zoning and the suite has to be built under permit with inspections passed. The Alberta Building Code governs the construction, and the same principles apply: rated separation between units, interconnected alarms, egress, ventilation and ceiling height.
The practical Calgary difference is the registry. A registered suite is what unlocks the incentive, gives tenants confidence and protects the owner on liability. Unregistered suites are common and they’re a problem at sale and at claim time.
What your cabinetmaker needs before drawing anything
Cabinet drawings don’t substitute for a permit set. Give the shop the permitted or near-final plan showing:
- Finished wall-to-wall dimensions, not framing dimensions
- Door swings, windows, bulkheads, stairs, mechanical rooms and low-ceiling zones
- Sink centreline, drain position, water lines, receptacles, switches and lighting
- Range, hood, refrigerator, dishwasher and microwave model numbers
- Required fire-rated assemblies and any access panels that have to stay reachable
- Finished flooring height at the time of final measure
This matters more in a basement than anywhere else. Concrete walls are rarely square, ducts occupy space the drawing assumed was clear, and the finished floor height often isn’t settled until late.
Which layout works in a suite
One-wall and compact galley layouts almost always win. They shorten the plumbing run, they cost less, and they leave the floor area for living space. In a suite, the island is the first thing to delete, not the first thing to add.
| Layout | Room needed | Where it works | Main limitation |
|---|---|---|---|
| One-wall | 8–10 ft of usable wall | Studio suites, laneway houses, open-plan living | Little landing space; no separation between prep and cooking |
| Galley | About 7 ft room width before cabinets and finishes | Efficient basement suite cooking zone | Opposing doors and appliance swings collide |
| L-shaped | Roughly 10 ft × 10 ft, depending on appliances | A defined corner in a larger suite | Corner storage and longer runs cost more |
| Peninsula | 42–48 in. beyond the cabinet run for circulation | Dividing kitchen from living area | Can narrow the main route or block a door |
| Island | Room wider than 11–12 ft after clearances | Larger laneway or family suites | Cost, electrical coordination, circulation pressure |
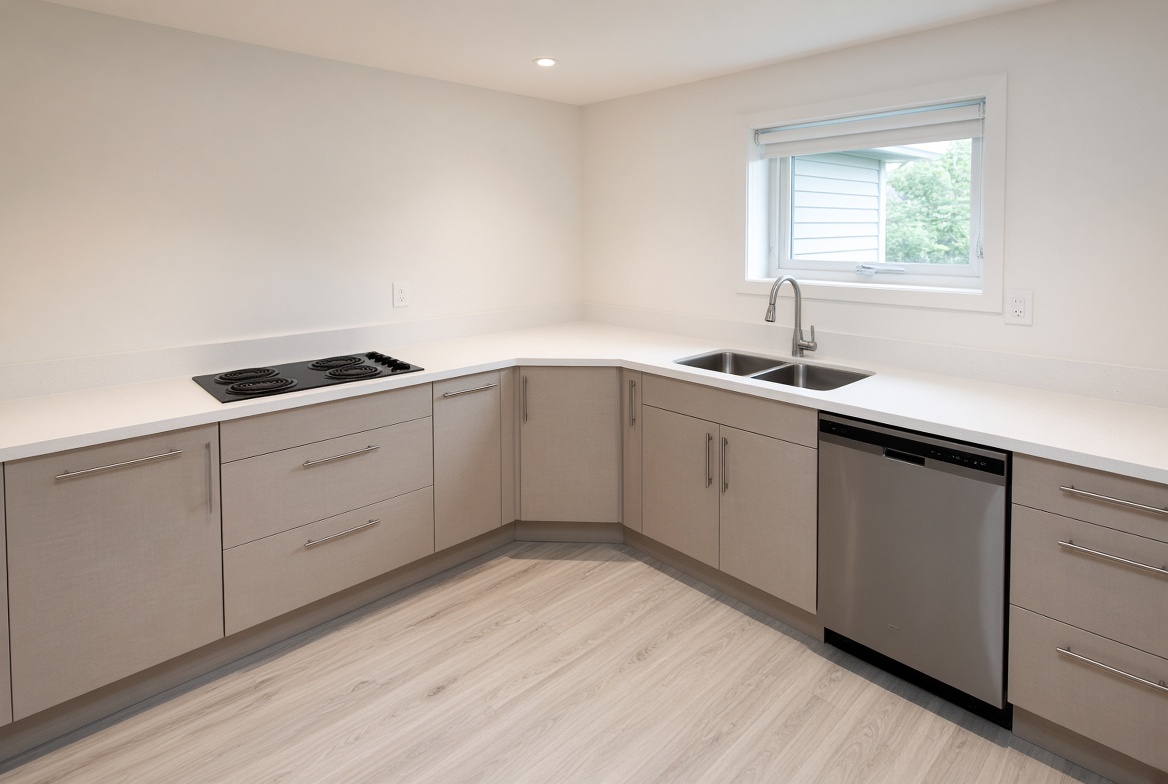
These are planning dimensions rather than code minimums — final clearance depends on cabinet depth, finished wall thickness, appliance door swing, accessibility considerations and the authority having jurisdiction. If an island genuinely fits, the kitchen island size guide has the clearance numbers.
Use 24-inch base cabinets with a 25 to 26-inch finished counter depth as the default. Shallower boxes feel like a saving on the drawing and cost you real storage in a room that has none to spare. Uppers run 12 to 15 inches deep, though a hood or over-range microwave may need a different depth and a specific ventilation route.
The 24-inch appliance world
This is the single biggest lever in a compact suite kitchen and most homeowners don’t know the products exist.
| Appliance | Compact size | What it buys you |
|---|---|---|
| Range | 24 in. (vs 30 in.) | Six inches of counter back, which is often the difference between a workable and unworkable one-wall run |
| Refrigerator | 24 in. wide, or counter-depth 30 in. | A full-depth 30-inch fridge projects into the aisle and its door sweeps further than the box suggests |
| Dishwasher | 18 in. (vs 24 in.) | Fits a suite where a full-size unit would eat the sink run entirely |
| Laundry | 24 in. stacked, or a ventless combo unit | A ventless washer-dryer combo avoids a dryer duct through a rated assembly |
| Hood | 24 in. ducted or recirculating | Determines upper cabinet depth and the duct route through the fire separation |
Measure the refrigerator with the door open and the handle installed. A 30-inch counter-depth model can still need close to 32 inches of clearance in use. That mismatch is the most common reason a suite kitchen gets rebuilt.
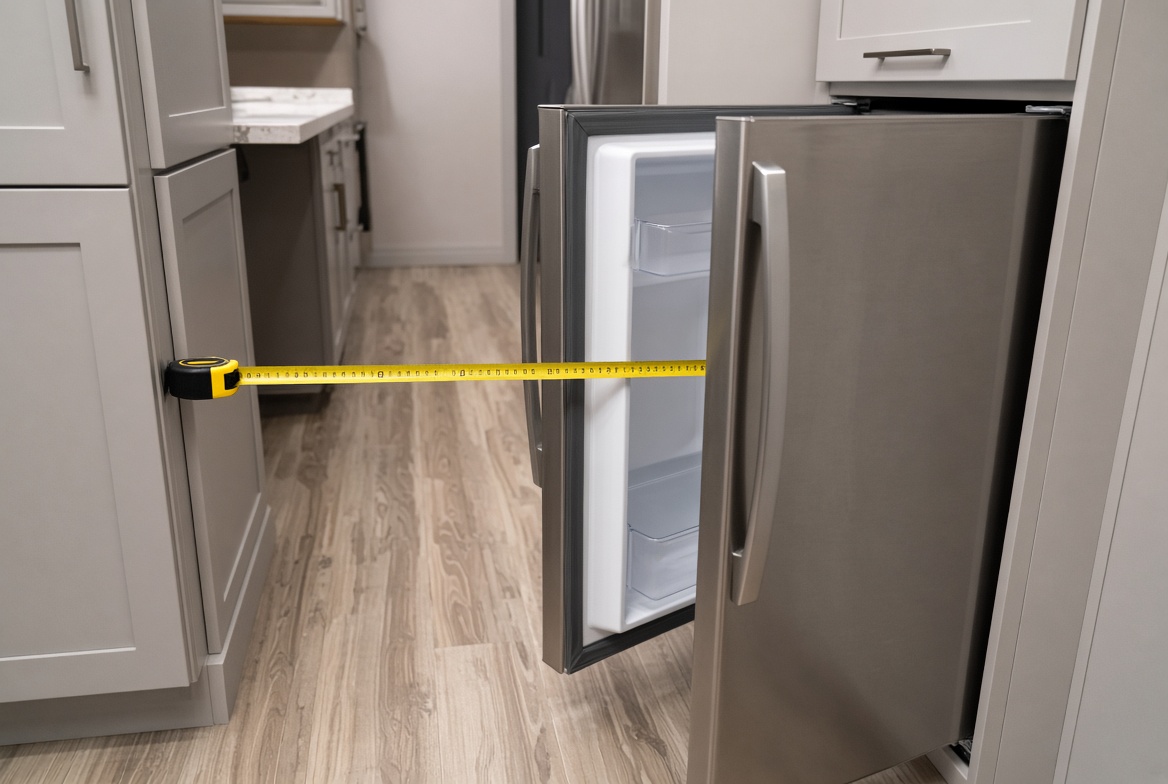
A worked example from a basement galley we reviewed: the drawing showed a 30-inch fridge opening and a 24-inch aisle, and a bedroom door swung into the same route. Reversing the door swing and moving to a shallower counter-depth fridge preserved circulation. Catching it after fabrication would have meant rebuilding the tall cabinet and moving electrical.
A workable cabinet schedule
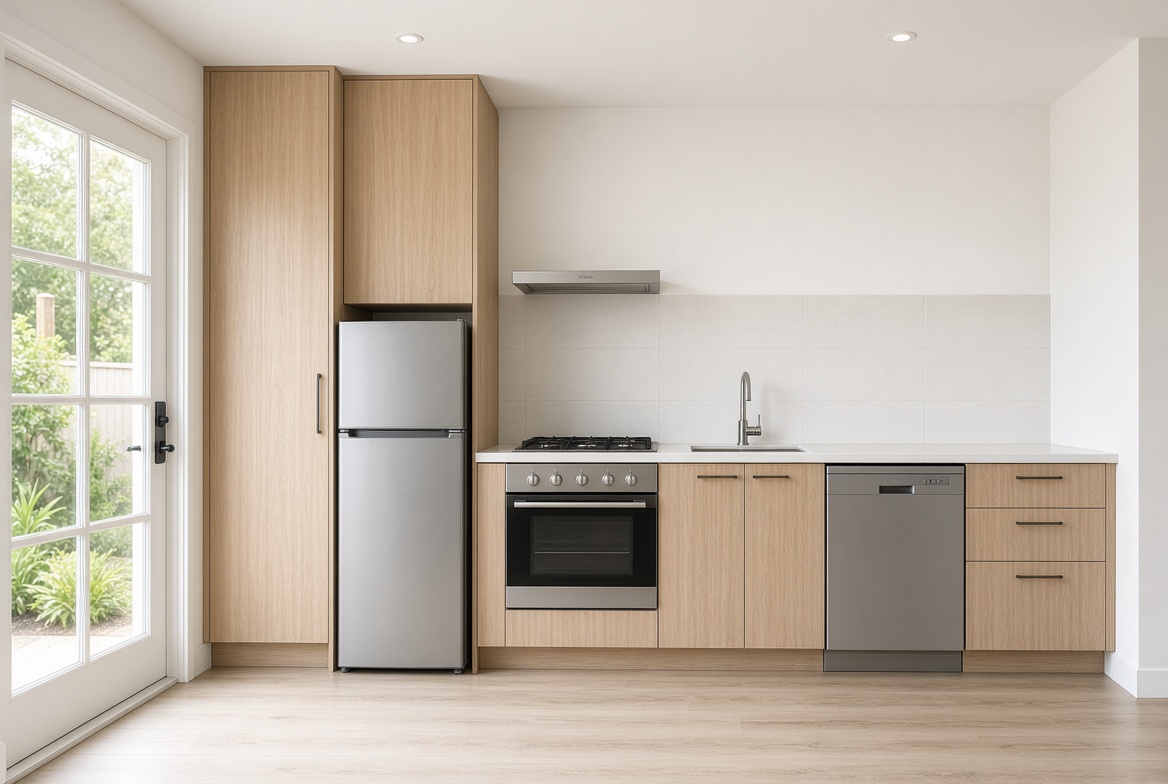
A suite needs fewer boxes but sharper allocation. Fillers and oversized corner units eat wall length without earning it.
- One 24 to 30-inch sink base, sized around the actual waste plumbing
- One 24 to 30-inch drawer base for utensils, pots and prep
- One 24 to 30-inch range or cooktop zone with landing space on at least one side
- One 18 to 24-inch dishwasher, if the layout and plumbing allow it
- One 24 to 36-inch refrigerator opening, verified against the exact model
- One 12 to 24-inch pantry or tall utility cabinet wherever the wall length permits
For long-term occupancy, drawers beat a stack of hinged doors on accessibility, and they cost more. If the budget is tight, put drawers where the pots go and doors everywhere else. Our 10 cabinet solutions for small kitchens covers the pull-outs and shallow storage worth specifying. The useful question isn’t how many cabinets fit — it’s how much usable storage survives after plumbing, ventilation, structural posts and appliance clearances.
Laneway houses usually benefit from full-height storage, because floor area is scarce and ceilings often allow it. Basements need more attention to moisture, low soffits, concrete irregularity and separation from mechanical equipment. Don’t copy one schedule into the other.
Materials that survive rental use
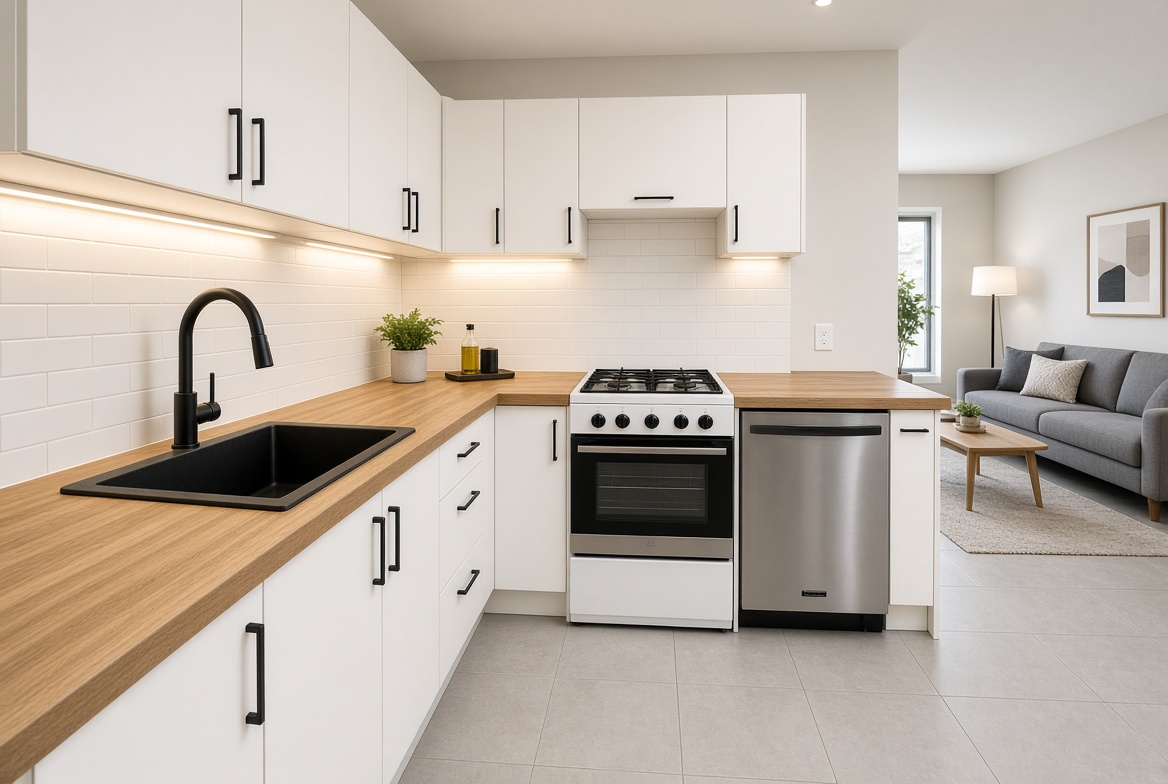
A well-sealed melamine box with laminate fronts is the right default for a rental suite. Plywood earns its extra cost where there’s repeated adjustment, real moisture exposure, or a premium finish justifying it. Neither survives a leak or an unvented bathroom. Our comparison of melamine vs plywood cabinet boxes goes through the details.
| Specification | Position | Trade-off |
|---|---|---|
| Melamine box, laminate fronts | Entry to mid | Consistent, easy to clean, controlled cost. Edges and wet areas need protection |
| Plywood box, laminate or veneer fronts | Mid | Better screw retention and repeated adjustment. Costs more; the exposed edge still needs finishing |
| Painted MDF fronts, melamine or plywood box | Mid to upper | Smooth painted look, wide door choice. Edges chip and need touch-up |
| Wood veneer fronts | Upper | Real wood with more dimensional stability than solid. Grain matching adds cost |
In a rental, hinge quality, drawer runner rating, edge protection and whether the installer levelled the run properly affect service life more than the box material does. Spend there first.
One thing that changed in 2026
Suite kitchens are the most price-sensitive category in cabinetry, which is exactly why imported flat-pack and ready-to-assemble packages dominate them. Those are the goods hit hardest by Canada’s 25% surtax on imported wood cabinets, which explicitly covers RTA and flat-pack formats from non-exempt countries. If you’re quoting an imported package for a suite, that surtax lands on a budget with no room in it.
Canadian-built lines carry no exposure. For a suite spec, Merit or Lectus, both built in BC, price competitively against imported RTA once the surtax is in the comparison — and they don’t move when the Tribunal reports in January 2027.
What a suite kitchen actually costs
Planning ranges for cabinetry, standard hardware, delivery and installation. Not a quotation, and excluding demolition, structural work, utility upgrades, permits, flooring and painting.
| Suite kitchen | Cabinets and install | What moves it |
|---|---|---|
| Compact one-wall, laminate fronts, stock widths | $6,000–$12,000 | Tall pantry, drawer bases, difficult access |
| Galley or small L, laminate or painted fronts | $10,000–$20,000 | Painted fronts, plywood boxes, custom widths |
| Larger laneway or family suite | $15,000–$28,000 | Full-height storage, panelled appliances, finished ends |
| Countertop and backsplash allowance | $1,500–$6,000 | Quartz over laminate, thick edges, cut-outs, full-height splash |
| Appliances (compact package) | $3,000–$9,000 | Induction, panel-ready, premium compact refrigeration |
| Cabinet-related electrical and plumbing | $1,000–$5,000 | Relocation, new circuits, drain elevation or pump complications |
For the whole-project picture, see the 2026 kitchen renovation cost breakdown for Canada and the Calgary budget ranges. Get separate allowances from the general contractor, electrician, plumber, HVAC contractor, countertop supplier and cabinetmaker — a cheap cabinet quote often excludes panels, fillers, finished ends, appliance modifications, delivery, or the second visit after counters are templated.
The payback question
Most people building a suite are doing it for the income, so run the number before the design. Take the realistic monthly rent for a one-bedroom in your neighbourhood, subtract the incremental utilities and any property tax change, multiply by twelve, and divide the all-in project cost by that. That’s your payback in years, before financing and before the value the suite adds to the property.
Where the kitchen fits: it’s usually 15% to 25% of a suite conversion. Cutting it to the bone rarely improves the payback much, and a kitchen that photographs badly costs you rent every month for as long as you own the place.
The sequence that avoids rework
- Confirm zoning, permit drawings and suite requirements
- Freeze the appliance schedule and service locations
- Measure finished, or accurately projected, site conditions
- Approve shop drawings, finish samples, hardware and any price changes
- Fabricate and coordinate delivery access
- Install, level, scribe and secure; then template counters
- Complete counters, backsplash, appliance install and deficiency review
Fabrication typically takes several weeks depending on finish, material and shop schedule — our design-to-install timeline and the cabinet installation process cover both ends of it. Counters usually need a separate measure and fabrication window after the cabinets are in.
What actually stops an installation
Almost never the cabinets. It’s ventilation, electrical, plumbing, fire separation or an appliance discovered late.
Receptacle locations, dedicated circuits, range power, dishwasher wiring, under-cabinet lighting and microwave requirements all get confirmed against the electrical code and the appliance instruction sheet — not a product listing photo. A cabinet plan showing a 30-inch range opening is incomplete if the selected appliance needs a different opening, an anti-tip provision, rear clearance or a connection in another location. Moving from a freestanding range to a slide-in changes the counter return, the filler, the backsplash and the anti-tip detail.
On the hood: whether recirculating is acceptable or ducting is required depends on the project and the applicable rules, and the route, duct size, exterior termination and make-up air all belong in the coordinated mechanical review. You can’t order a shallow upper cabinet until the hood is specified.
On plumbing: keep shutoffs, traps and cleanouts accessible. A false drawer front can conceal plumbing; a permanently sealed cabinet side that prevents repair is bad practice. In a basement, the drain elevation and any pump arrangement can decide whether the sink base, the dishwasher or the entire kitchen has to move.
Where to save, and where not to
Save by keeping the plumbing wall short, using standard cabinet widths wherever they fit, limiting finish changes, and selecting appliances before shop drawings. One material for doors and panels costs less than a mix of painted, veneer and laminate parts. Standard 24-inch base depth reduces odd fillers and simplifies counter fabrication.
Don’t save by removing landing space beside the sink or the cooking surface, blocking service access, or choosing an appliance that only just fits. Those create daily friction and often become expensive changes at inspection or install. A narrow drawer base or a properly sized pantry earns its keep; a decorative end panel does not.
What to ask before you order
Ask for a written scope naming cabinet materials, door and box construction, finished ends, fillers, toe kicks, hardware, panels, delivery, installation, taxes and exclusions. Then:
- Has the design been checked against the current appliance installation sheets?
- Are the counter, backsplash and sink included, or quoted separately?
- Which dimensions are fixed and which depend on the site measure?
- How are exposed cabinet sides and the sink base finished against moisture?
- Is the installer responsible for levelling and scribing to existing walls?
- What access is needed — through the house, down stairs, along a laneway?
- Which work stays with the general contractor, plumber, electrician or HVAC contractor?
- How are changes priced, and what happens if the site isn’t ready on delivery day?
A cabinetmaker who flags a conflict before fabrication is worth more than one who confirms everything fits the first sketch. If you’re still choosing, run our 12 questions to ask a cabinet maker on us.
If your BC or Calgary suite has an irregular basement, a laneway footprint, tight stair access or several trades competing for the same wall, bring a cabinet shop in while the layout can still move. Send us the plans and we’ll review the cabinet and installation constraints and prepare a scope — book a free estimate or come to either showroom. You can also see completed work in the kitchen renovation portfolio.
Vancouver: 604-293-1020 · Calgary: 778-996-5039
FAQ
How much does a secondary suite kitchen cost in BC or Calgary?
Budget $6,000 to $12,000 for a compact one-wall kitchen, $10,000 to $20,000 for a galley or small L, and $15,000 to $28,000 for a larger laneway or family suite, covering cabinetry, hardware, delivery and installation. Countertops add $1,500 to $6,000 and compact appliances $3,000 to $9,000.
Is there still a grant for building a secondary suite?
In Calgary, the Secondary Suite Incentive Program offers up to $10,000 plus bonuses, but new applications have been waitlisted since June 24, 2026. BC cancelled its provincial incentive in March 2025. The federal Canada Secondary Suite Loan Program was announced in 2024 but never launched and was cancelled in the 2025 budget. The CMHC Refinance Program is the live federal option.
Does a secondary suite need its own kitchen?
Generally yes — a self-contained dwelling unit needs facilities for cooking, living, sleeping and sanitation plus its own access, though the exact definition sits with your municipality. Confirm zoning and building requirements before treating a kitchenette as a legal suite.
What does the BC Building Code require between a suite and the main house?
A continuous fire separation across all dividing walls and floor-ceiling assemblies, generally at a 45-minute fire-resistance rating under Section 9.37, with some assemblies allowing 15 minutes. You also need interconnected photo-electric smoke alarms in both units, sound separation, and a separate means of egress.
What ceiling height does a secondary suite need in BC?
At least 2 metres, roughly 6 feet 7 inches, including under beams in passageways. This is the requirement that most often disqualifies an older basement.
Can I use a 24-inch range in a basement suite?
Yes, and in a compact layout you usually should — it gives back six inches of counter compared to a 30-inch range. The appliance still needs its required clearances, power, ventilation and landing space, so set the cabinet opening from the manufacturer’s installation sheet.
What cabinet material is best for a rental suite?
A well-sealed melamine box with laminate fronts is the sensible default: durable, easy to clean and cost-controlled. Spend the difference on better hinges, drawer runners and edge protection rather than on door material, since those are what fail first in a rental.
Are open shelves acceptable in a suite kitchen?
They can give cheap access to everyday items, but they don’t replace enclosed storage for food and cleaning products and they collect grease and dust. Only install them where they won’t interfere with required clearances, ventilation or the suite’s fire and access conditions.
Should a suite kitchen use a panel-ready refrigerator?
Usually not. A freestanding counter-depth model is simpler to replace when it fails, which matters in a rental, and it avoids the precise panel, hinge and ventilation dimensions a panel-ready unit demands. Either way, pick the model before final drawings.
Can cabinets be installed before the suite permit is approved?
It’s a bad idea. Cabinet dimensions depend on approved walls, doors, services, ventilation and fire-separation details, and permit comments can change any of them. Use a preliminary design for budgeting, but don’t release for fabrication until the layout and the regulated trades are settled.
How early should I contact a cabinet shop?
During layout and budgeting, before the electrical and plumbing rough-ins are fixed. A preliminary cabinet plan catches appliance, clearance and storage conflicts while they’re still free to fix. Final measuring and fabrication follow complete drawings, selected appliances and a ready site.